


软件

产品


按照官方给的代码依赖是不够的,这里需要对maven的pom文件进行补充。
1 2 3 4 5 6 7 8 9 10 11 |
|
这里我们还是使用mysql作为测试数据库,fm(fluent mybatis的简称)可以支持很多种数据库,暂时我们不考虑其他的数据库。
在application.properties文件中添加mysql数据库配置,至于druid连接池的使用后面的篇章用到再说。也可以用application.yml,这个随意。
1 2 3 4 |
|
再测试包中加入测试代码,主要是做一个简单的插入数据测试。
代码如下:
立即学习“Java免费学习笔记(深入)”;
1 2 3 4 5 6 7 8 9 10 11 12 13 14 15 16 17 18 19 20 21 22 23 24 25 26 |
|
说明:
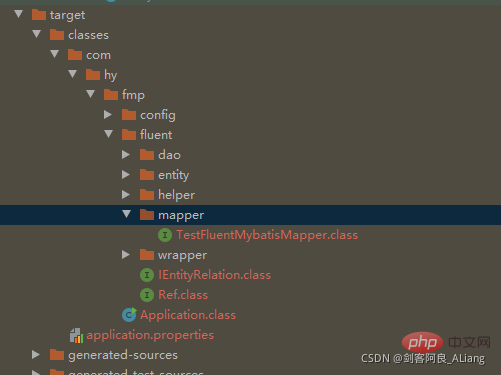
1、注意TestFluentMybatisMapper是target包内的mapper类。
2、表实体TestFluentMybatisEntity可以通过链式的代码写法。
1 2 3 |
|
扫描的mapper也是target包内的mapper目录
1 2 3 4 5 6 7 8 |
|
下面我们测试一下插入代码
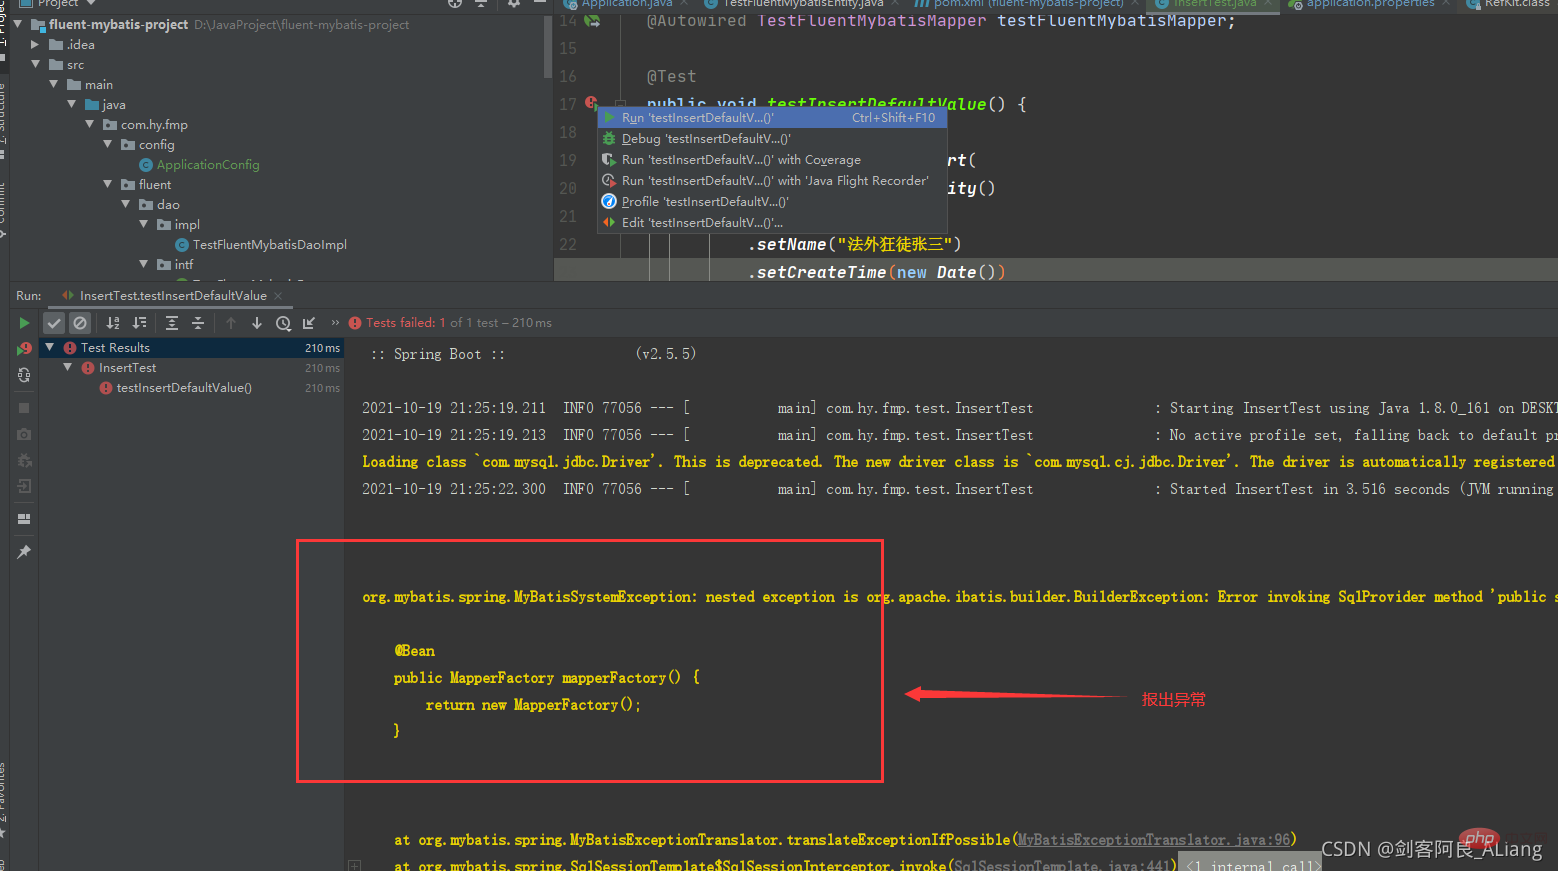
发现这里报了个异常,调整代码,增加配置类。
代码如下,增加MapperFactory注入。
1 2 3 4 5 6 7 8 9 10 11 12 13 14 15 16 17 18 19 20 21 22 23 24 25 26 27 28 29 30 31 32 33 34 35 36 37 38 39 40 41 |
|
重新执行一下看看效果。
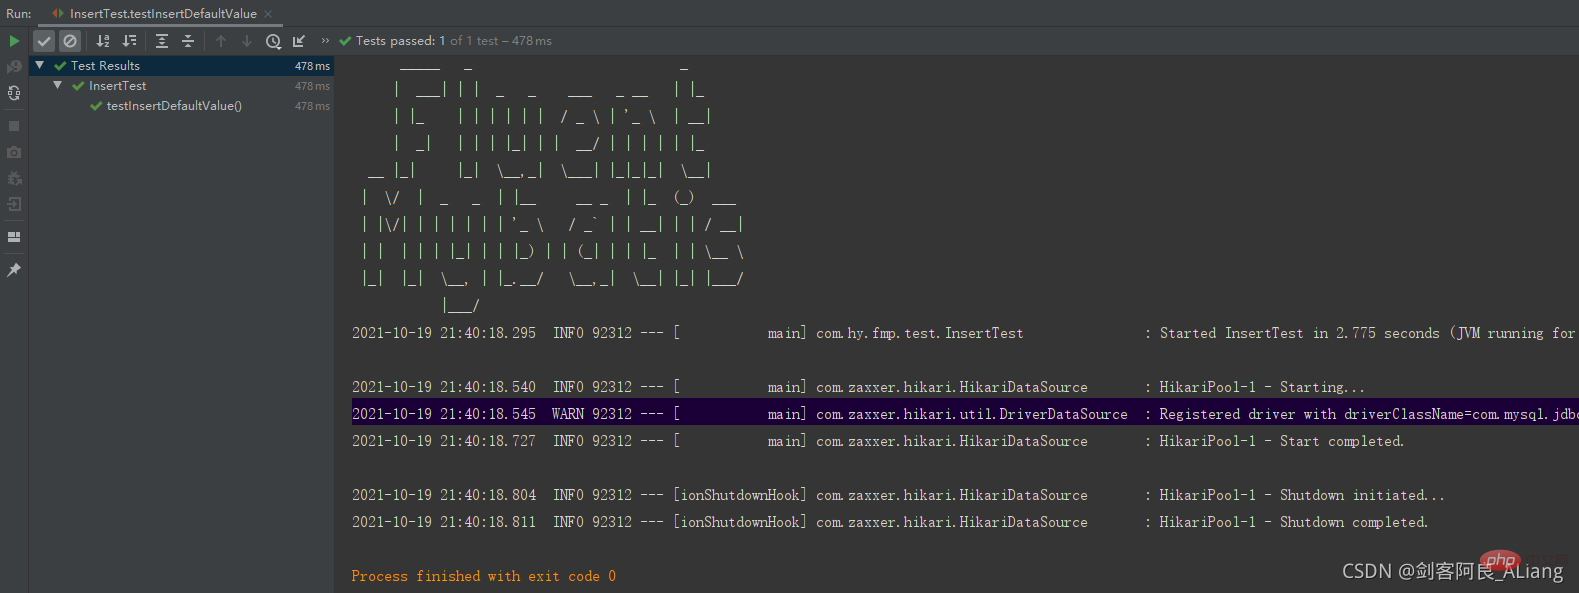
执行成功,看看表里的数据。ok,完美。

以上就是如何使用Java Fluent Mybatis验证对数据库的操作的详细内容,更多请关注php中文网其它相关文章!
武汉格发信息技术有限公司,格发许可优化管理系统可以帮你评估贵公司软件许可的真实需求,再低成本合规性管理软件许可,帮助贵司提高软件投资回报率,为软件采购、使用提供科学决策依据。支持的软件有: CAD,CAE,PDM,PLM,Catia,Ugnx, AutoCAD, Pro/E, Solidworks 等。
 技术文档
技术文档
 推荐好文
推荐好文


 155-2731-8020


